SQL (Structured Query Language) is a database language, and mySQL is a common variant available in your Cloud9 workspace.
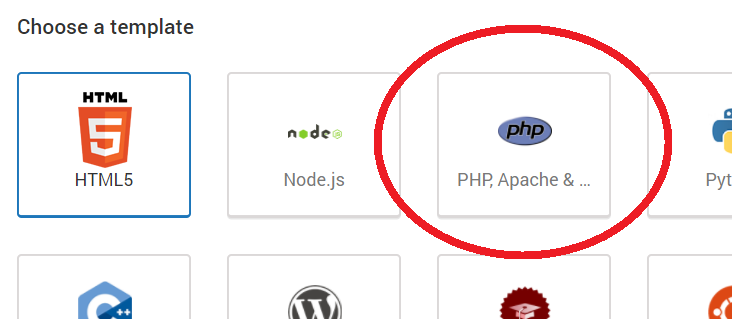
These instructions work in a PHP Workspace in Cloud9.
(It won’t work in an HTML5 workspace, for example)
Install phpMyAdmin (graphical database interface)
Find your bash terminal in your workspace. If you don’t see it, click “Window” in your workspace’s menu bar and click “New Terminal.”
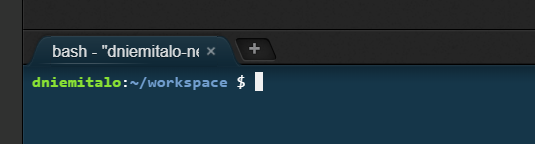
This is a Linux command line. You can run many types of commands. First we will install phpMyAdmin in Cloud9.
Type this command and hit enter:
phpmyadmin-ctl install
This only needs to be done once. It will print out a link like so:
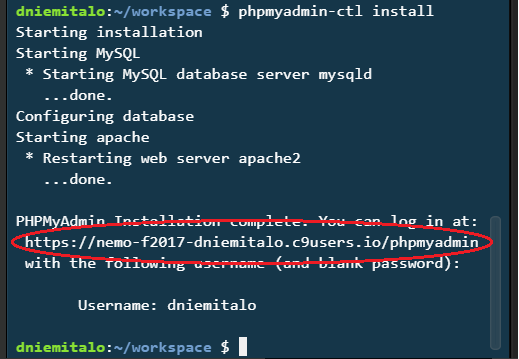
To launch phpMyAdmin, visit your link. If you lose the link, you can just run your project and add “phpmyadmin” to the end of the address as shown here:
Example Workspace link:
https://nemo-f2017-dniemitalo.c9users.io/

Example phpMyAdmin link:
https://nemo-f2017-dniemitalo.c9users.io/phpmyadmin
Your phpMyAdmin username is the same as your Cloud9 username.
Leave the password blank and click “Go.”
Create a Database
You might already have a database called “shoes” if you followed instructions from CSP Activity 2.2.3 (Database & SQL).
This is how to create that database in phpMyAdmin:
Click the “Databases” tab.
Type a database name and click “Create.”
A database can have many tables.
For example, a database called “baseball” might contain tables called “players” and “teams” and “games.”
Create a Table
Here’s how to create the “shoe” table from Step 8 of Activity 2.2.3:
Click your database name (e.x. “shoes”) on the right hand column.
Type table name (“shoes”) and number of columns (4) and click “Go.”
Now we see a screen like this:
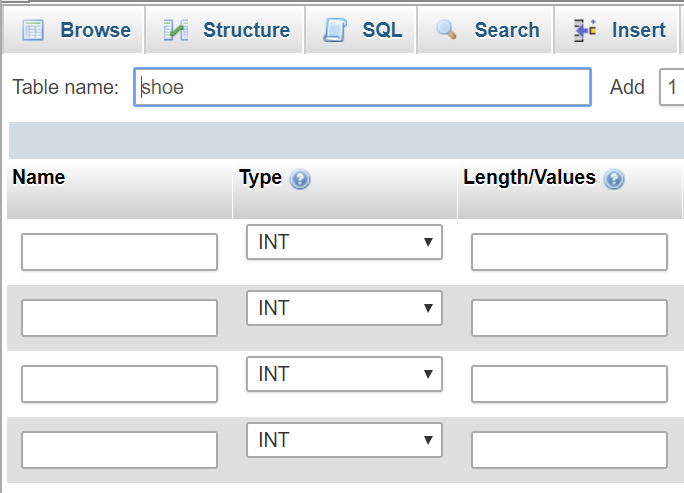
Each column (or “field”) needs a name and a data type. “INT” is integer and “VARCHAR” is text data.
The length of the column is the amount of data that can be stored in each entry. A VARCHAR field with a length of 10 can store up to 10 characters of text.
Fill it out as follows :
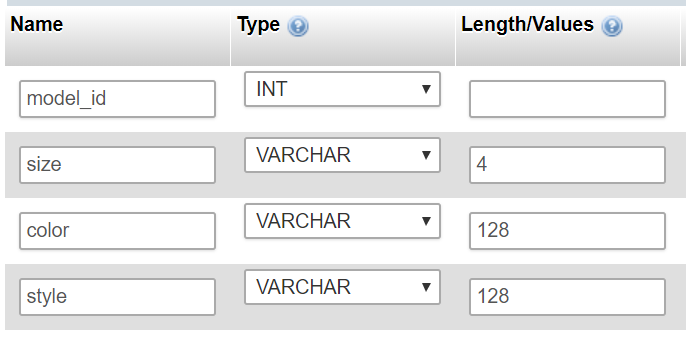
Also make the model_id field into a primary key. This forces the model_id to be a different, unique value for every type of shoe.
Finally, make the model_id an auto increment field, which means the number will be automatically assigned to the record, and each new shoe record gets the next integer number as its model_id.
Scroll sideways to find these options and fill them out like so:
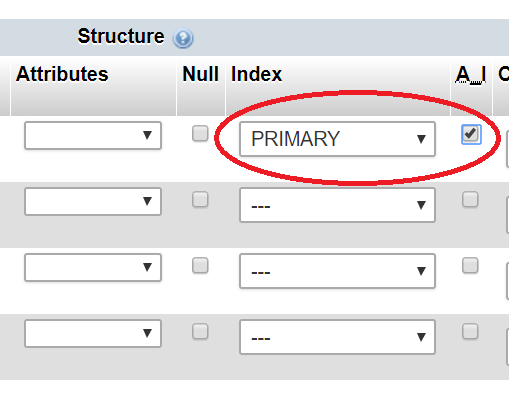
Scroll down and click “Save.”
FYI, this table can be created more quickly with a text command in the command line. See activity 2.2.3 for that command if interested. But phpMyAdmin is easier to figure out at first.
Insert a New Record
Now you can click the name of your table (“shoe”) on the left pane. It is underneath the name of your database (“shoes”).
To insert a new record, click “Insert” like so:
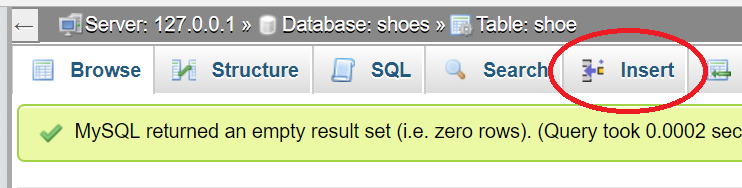
Now you can enter data on a specific shoe model.
Leave the model_id blank, because the database will automatically assign that number (auto increment).
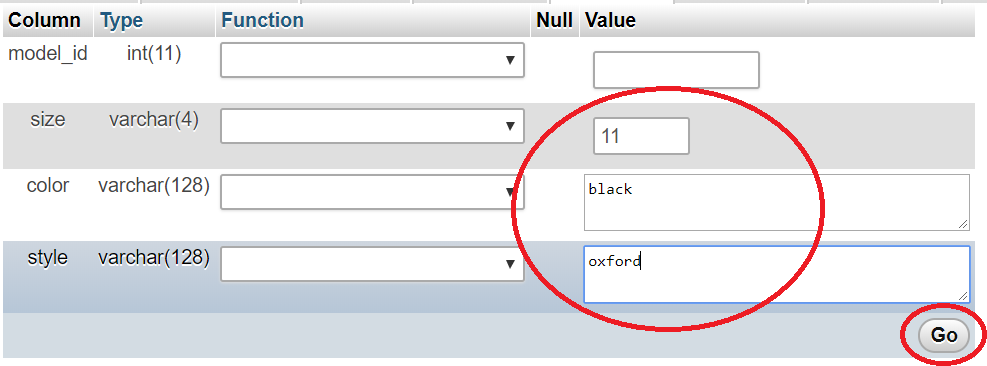
Now you can click “Browse” to see the record:

Note: You won’t see Edit/Copy/Delete buttons if you didn’t assign a primary key to your table.
Command Line mySQL
To start mysql command line, type this into your bash terminal (don’t add extra spaces) and hit enter:
mysql-ctl cli
Now you need to “USE” a database. If you created the shoes, database, type this:
USE shoes;
SQL Commands / Syntax
- SQL commands end with a semicolon.
- SQL Keywords are capitalized by convention.
- All SQL names are case sensitive.
Here are some ways you can learn some text SQL commands:
- Work through PLTW Activity 2.2.3 starting at step 9
- Start on the SQL Tutorial at w3schools.com
- Try the commands below and see what happens, then figure out how to change them to make it do what you want.
- At minimum, you need to know how to use SELECT, WHERE, and INSERT INTO, because those are required to make a PHP webpage read from and write to your database.
SHOW TABLES;
DESCRIBE shoe;
SELECT * FROM shoe;
INSERT INTO shoe (size, color, style) VALUES ('8', 'blue', 'sneakers');
SELECT color, style FROM shoe WHERE size='11';
UPDATE shoe SET color="gray" WHERE model_id = 1;
DELETE FROM shoe WHERE model_id = 2;