Official tutorial from Google: Creating your first app
You need to start a new project before you can edit a layout.
Use your browser to find the layout file for your main activity:
 You will need to open some of the sub menus.
“res” stands for resources. It includes your layouts and also other things like sounds and images.
Double click the layout file, and you will hopefully get a visual preview of your screen in the layout editor.
You can either use this graphical interface, or you can view the XML code that defines the layout. Switch between those using the tabs at the bottom:
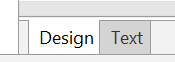
You should click the Text tab once to see what XML code looks like (similar to HTML). For now, we will focus on the Design tab (layout editor).
Adding Views
Views are things like buttons, text boxes, images, and other items that can go into a layout.
Views can be organized inside a container such as a Linear Layout to make them appear in the proper locations on your screen.
Delete the “Hello World” text view if you have one, and then add a Linear Layout from your palette:
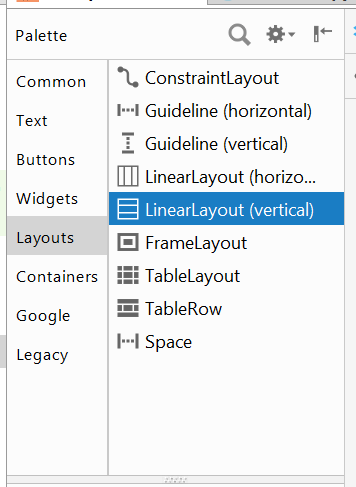
You can drag it from the palette to the screen preview.
(If you don’t put the views in a container or otherwise specify how they should be located on the screen, Android doesn’t have enough information to build the screen correctly. Linear Layouts are a fairly easy way to do this.)
Resize a Linear Layout
If your vertical linear layout doesn’t fill most of the preview screen, right click it and select organize and expand vertically and expand horizontally.
Adding Views to a Linear Layout
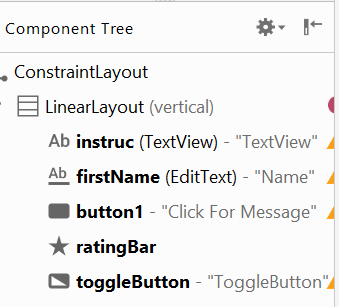
Now drag a text component or a button into the component tree.
You could also drag it directly to the screen preview, but that can create additional settings that might cause confusion.
You can reorder the items in a linear layout by dragging them around within the list.
Run App
At this point, you can run the app and see if your layout items display.
Editing View Attributes
Now you will want to change some attributes of the views. Click a TextView in your component tree, and something like this should appear on the right side of Android Studio:
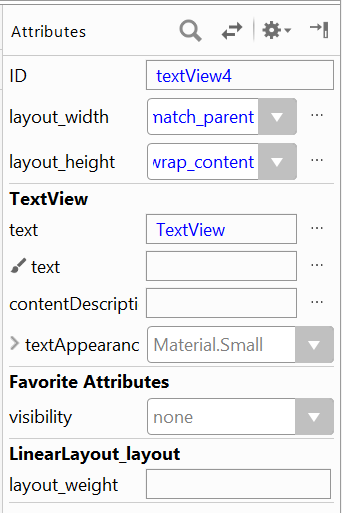
From here you can change the text that’s displayed in the TextView.
You can also give it an ID that allows Java to find the view later on.
Try changing “textAppearance” to a different choice to make the text look different.
To get more options to display, click “View all attributes” at the bottom. Now you can try using the search icon to look for the color and size attributes. Here’s an example of changing the text size:
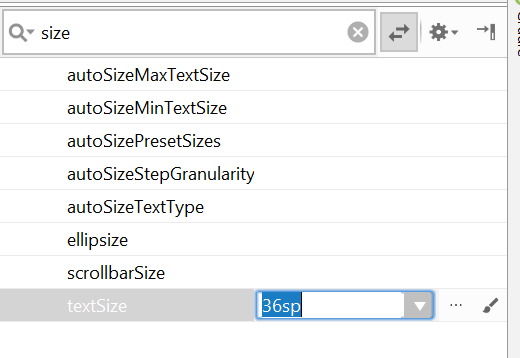
Clicking the drop down arrow will give you some choices. You might notice that the font size units used above are “sp” units.
Things to try:
- Add buttons to a linear layout
- Add different types of text input (number, plain text, etc)
- Add widgets such as rating bar or slider
- Add a horizontal layout inside a vertical layout to get side by side elements
- Change the color and font attributes of some text
- Right click the elements on the visual preview to see some different ways of constraining their locations on the device screen